When I saw the topic for this month’s Recipe Redux challenge, I had absolutely no idea where to start. I have no experience making “Fermented Foods” at home, and didn’t even know it was possible. When I started looking into the process, the food safety nerd came out in me as I worried about leaving food out on the counter to ferment for days without refrigeration. Is that really safe? Turns out it is. And easy too.
But why would anyone choose to ferment a perfectly good vegetable? So glad you asked. Fermented foods contain beneficial probiotics. Probiotics help us with digestion (something I obviously could use) and can also boost our immunity. Many of you probably eat yogurt for the probiotics, now you can get the same benefits with veggies!
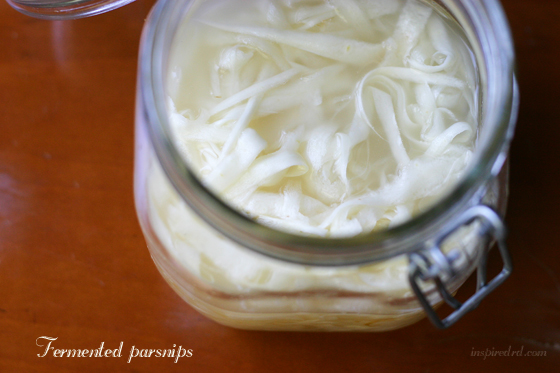
I decided to use a few parsnips for my first fermenting experiment. I wanted to use a seasonal vegetable and something from my low FODMAP list so I could taste the finished product. With a little help from this article and this video, I set to work. Here’s how I did it (and how you can do it too).
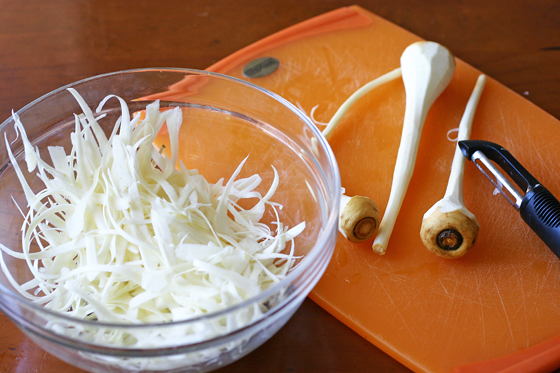
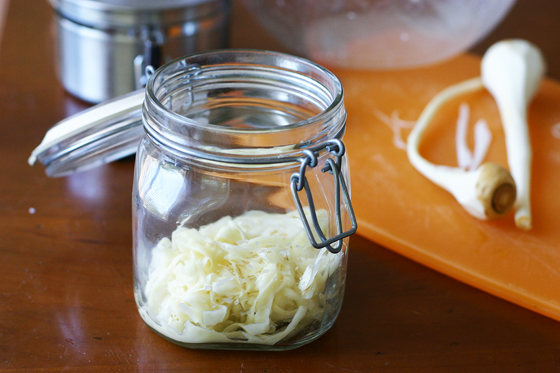
Shred or thinly chop your veggies. I would have used the grater on my food processor, but it’s broken and I haven’t decided on a new one (if you have a recommendation let me know!). You can use a vegetable peeler like I did or even a box grater. The key is to make the pieces small and thin.
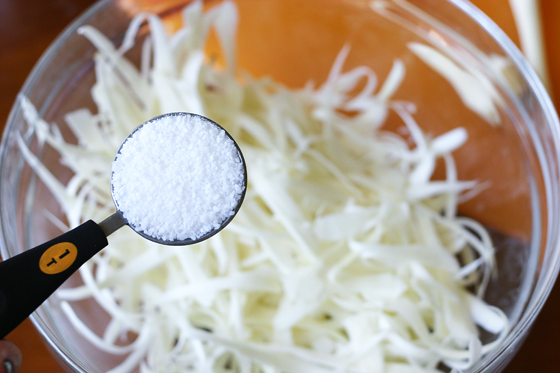
Add kosher salt to your shredded vegetables. I used a tablespoon based on the articles I found, but I probably should have used less with only three parsnips.
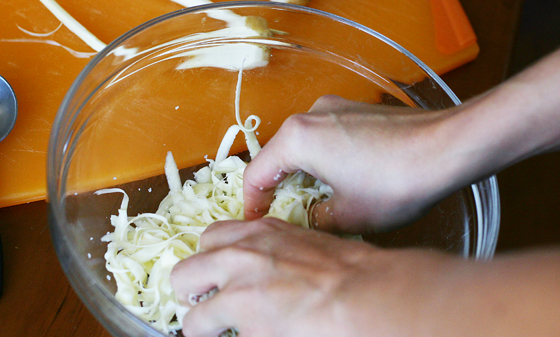
Massage the salt into the vegetables until they start to break down and release liquid.
Place the veggies in a jar with a lid.
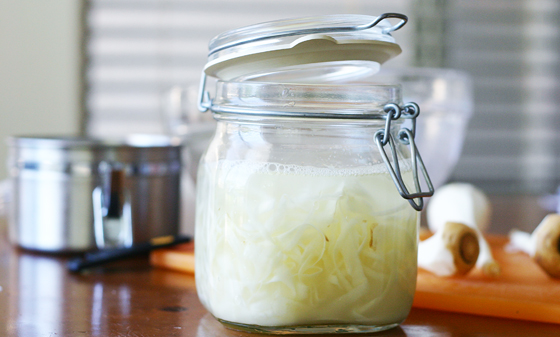
Fill with filtered water until veggies are completely covered.
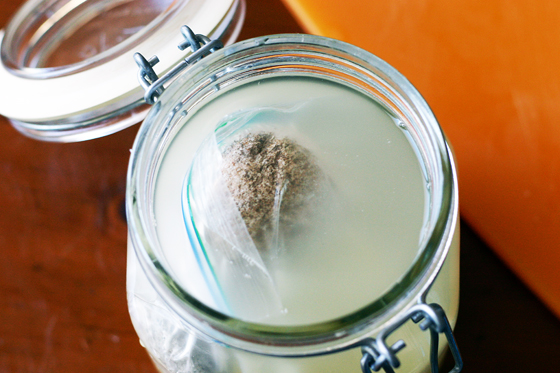
If you have a large jar and the vegetables don’t fill it up all the way, make sure to place something in your jar that will weigh the veggies down and keep them submerged. I filled a ziploc bag with river rocks and placed it in the top of my jar.
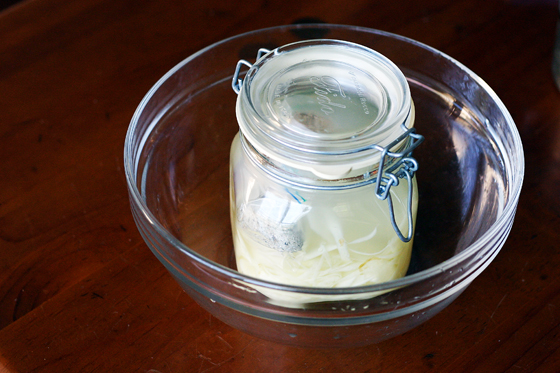
Close the lid and place the jar in a large bowl on the counter. Here’s where the instructions get very important. As the vegetables start to ferment, lots of bubbles and gas are being produced. Make sure to open your container at least once a day to let the gas escape. The jar is stored in a bowl just in case too much gas is forming and your jar cracks or even explodes. The woman in the video assured me that her jars have never exploded…I decided to believe her.
If a white film forms on top of the water, don’t freak out, simply wipe it off with a paper towel.
Let your vegetables sit for 3-5 days, remove the weighted ziploc bag, and enjoy your fermented veggies! Eat them plain, or toss them on a salad.
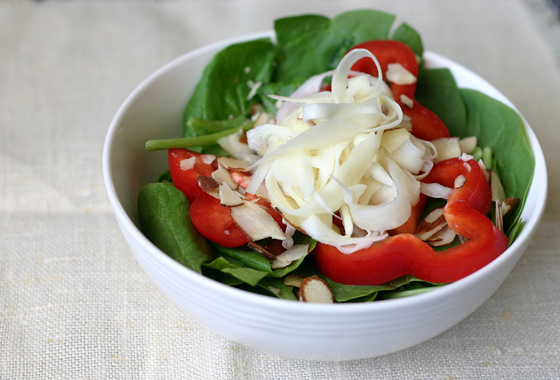
The parsnips were delicious on a bed of spinach, red bell pepper and sliced almonds.
I’m calling the fermenting experiment a success and can’t wait to try other veggies.
Do you eat fermented foods? Have you ever made your own?
Make sure to check out more fermented goodness in the Recipe Redux posts below!
‘);
// ]]>
get the InLinkz code

This looks like a very non-scary way to ferment food, I think I might actually try this! And good thinking on the parsnip, that might be a fun way to jazz up salads and so on for my low FODMAP clients!
I am really enjoying the parsnips on my salads. Hope you give it a try!
I really like fermented foods….kimchi and sauerkraut being my favorites. Parsnips are a great veggie, and I’ve never thought of fermenting them myself! Great tutorial. Thanks.
I just bought the 7 cup FP from Kitchenaid, and so far it’s working out really well for me.
Thanks for the tip! I had a Cuisinart for a long time, but I’m not so confident about their bowls.
Alysa good on you. Excellent step by step lesson. Love your blog and your posts on social for social good. I’m a blogger ambassador for one of worl aid charities here in Australia and it feels so good to give back.
Thank you Emma. I love being able to use my platform for good causes. Sounds like you do too!
So funny as I’ve been eating fermented foods for most of my life but never thought of them as fermented. Asians eat lots of different fermented foods, probably as a way to preserve foods. I’ve never tried fermented parsnips so thanks for introducing them to me.
So glad I could introduce you to something new, you sound like a fermented-food expert 🙂
I never would have thought to ferment parsnips! great idea
Thanks Elizabeth!
I wasn’t entirely successful with my attempt at fermenting jalapenos, but reading your post I’m wondering if slicing them rather than brining them whole would do the trick. Great idea to use the parsnips!
Everything I read made it seem like the smaller the pieces, the better they ferment. Try it next time and let me know!
Yummy! Thank you for sharing this…and for introducing us to recipe redux!
Cheers
~ jillian
http://www.hersplitends.com
Thanks Jillian!
That is a great way to use parsnips. Thanks for all the information on how to do it. Great pictures.
Thank you! I had fun experimenting.
So far we’ve had reasonably good luck in our home with fermenting sauerkraut, dill pickles, daikon radish and creme fraiche. It’s a lot simpler to do than it may appear at first.
I was lucky enough to be gifted with a KitchenAid twelve-cup food processor. It comes with an extra four-cup bowl for smaller jobs, and has been working for us like a champ the last eight years.
I would love to try pickles, that’s next on the list. Thanks for the FP recommendation!
Looks great! I’ve been making my own pickles but never tried fermenting other vegetables. Great idea!
Such a great post!
I have never tried fermenting vegetables but I think my initial reaction is like you.
But I feel a lot more comfortable after reading this post. Thanks!
Ahh, I had all the fears you did (not to mention I need a glass jar with rubberized lid) but I appreciate that you boldly went forwarded and conquered fermenting your first veggie – as Kristen said, I now feel more comfortable trying it out on some my CSA share veggies. Great post!
[…] began the process for Fermented Parsnips, via Inspired […]