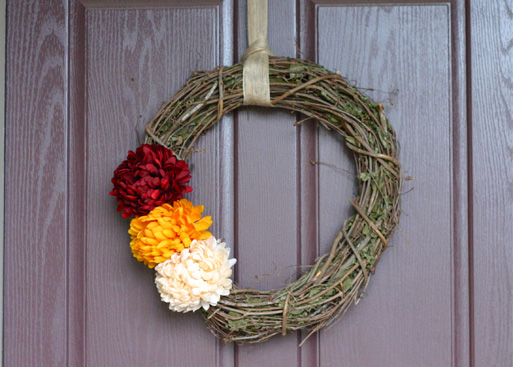
Have you discovered Pinterest yet? It’s like an online bulletin board where you can find and share inspiration. I had been looking at some fun fall wreaths and went to JoAnn with the intentions of making this Halloween wreath, but then I found these pretty pom-pom flowers. Are they dahlias? Someone help me out here. I decided to go in an entirely different direction and came up with this simple fall wreath. I really didn’t know what I was doing, but I had fun with it and love the final result. This wreath will take you 15 minutes to make and shouldn’t cost more than $10-$15 in supplies. 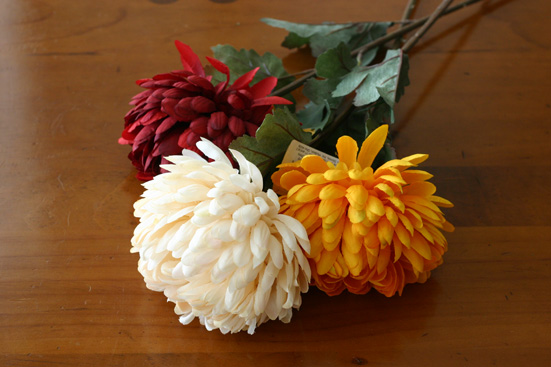 First, choose your flowers. You could really pick anything you like! Make it your own.
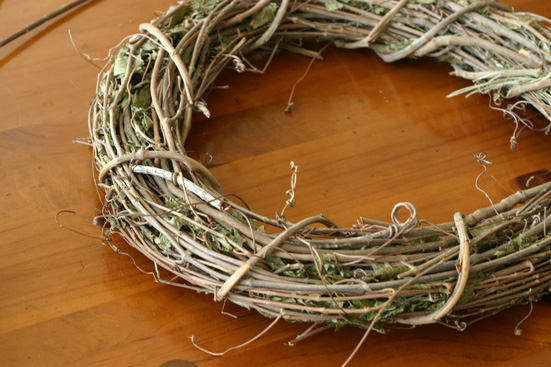 Next, find a grapevine wreath. I chose an 18-inch wreath from JoAnn for $4.99. They had all sizes and shapes to choose from.
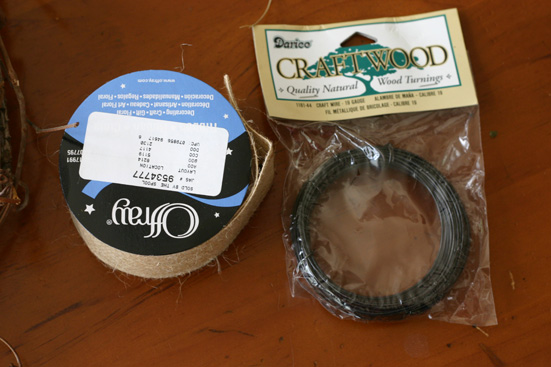 Grab some crafting wire and burlap ribbon. The ribbon is optional. I wanted to use it because we have a tall front door, but you could easily hang the wreath right on the hook.
 Using wire cutters, cut an 18-inch piece of wire for each flower.
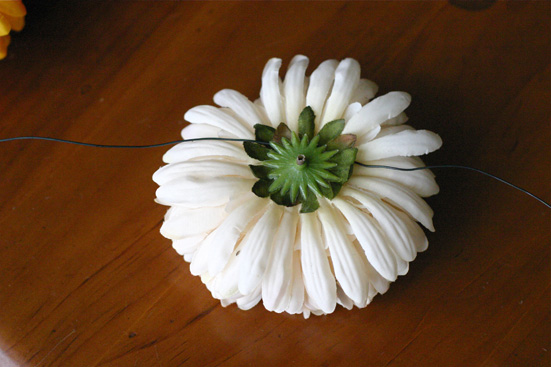 Pop the tops of your flowers off of the stems (they should come off easily). Take the center of your wire and ease it under the plastic piece on the back of your flower. Twist the wire so that the left side goes to the right and the right side goes to the left and there is a loop of wire around the underside of the plastic piece.
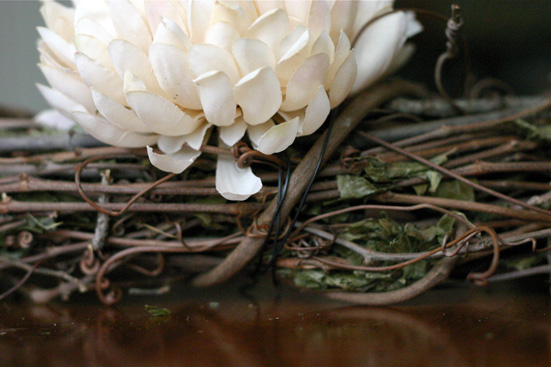 To anchor your flower, place it on the wreath and wrap the wire around the wreath in opposite directions.
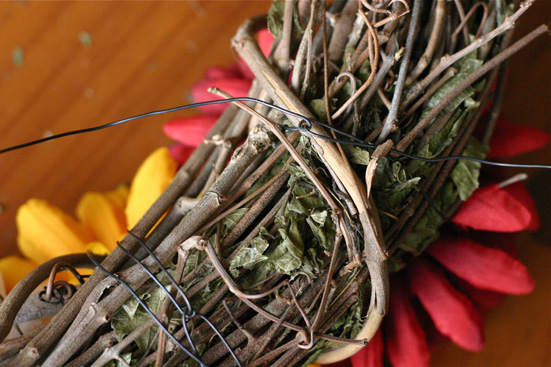 Take the wire in the back of the wreath and twist to anchor your flower.
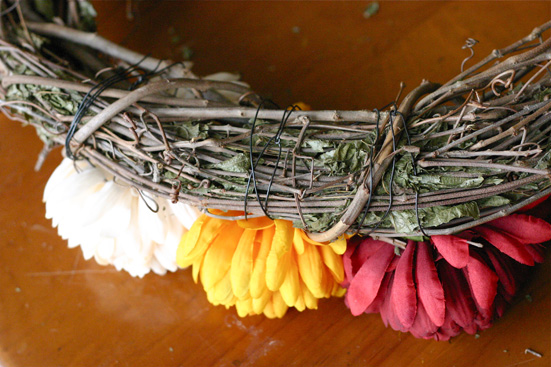 Repeat with remaining flowers.
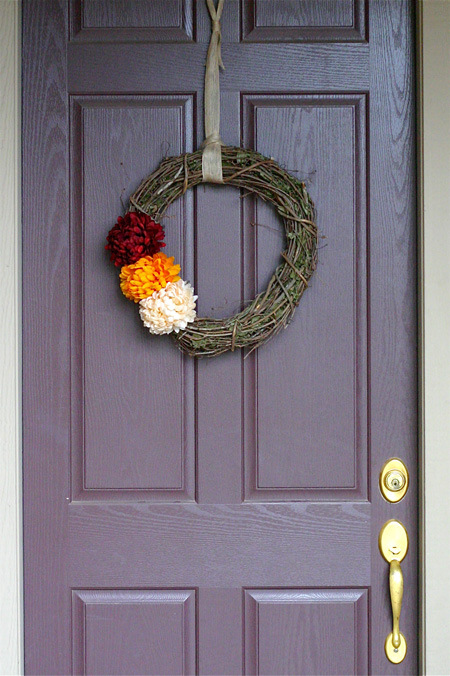 Hang directly onto a wreath hook or use burlap ribbon for a taller door like mine. And there you have it! Simple, right?
If you make a wreath, I would love to see it. You can post a photo in my Flickr group here.
___________________________________________________________________
Are you a mom on-the-go? Check out the new website 30Second Mom for quick tips on food, health, family and more! I am excited to be one of 20 contributors to this innovative new site. Registration is free, and you control the kind of tips you see, so your experience will be totally personalized. If you want to follow my tips, just click on my photo! You can also like 30Second Mom on Facebook. Let me know what you think!


What an awesome tutorial! I wish I had time to put this together but it looks easy, maybe I can find time this weekend. It looks beautiful and is that your door? I love its color!
Thanks Caitlin! You should definitely find time to make one, it’s so fast and easy! The front door is of our rental house. I like it too!
What a pretty wreath! Looks pretty simple to do.
Thanks for the tutorial!
[…] inspiredrd.com […]
[…] year I wanted to improve our Halloween situation, so I got fancy and made a fall wreath. I also spray painted the letters B-O-O in a sparkly purple that doesn’t match anything in […]
I just made this using your tutorial. How do you hang it over the door?
I used the burlap ribbon and hung that on a wreath hanger. Does that make sense?
[…] ~A simple fall wreath from InspiredRD~ […]
[…] {Simple Fall Wreath from InspiredRD} […]