Joe’s birthday falls on Easter this year, and he is thrilled. “I am going to have SO MUCH FUN with that day!” Here’s hoping BirthdayEaster 2014 lives up to his expectations.
As a prelude to ALL THE FUN, we will first be dying some eggs. This is something we like to do each year, making it an experiment with different food ingredients. Feel free to use this as a guide, then have fun experimenting on your own.
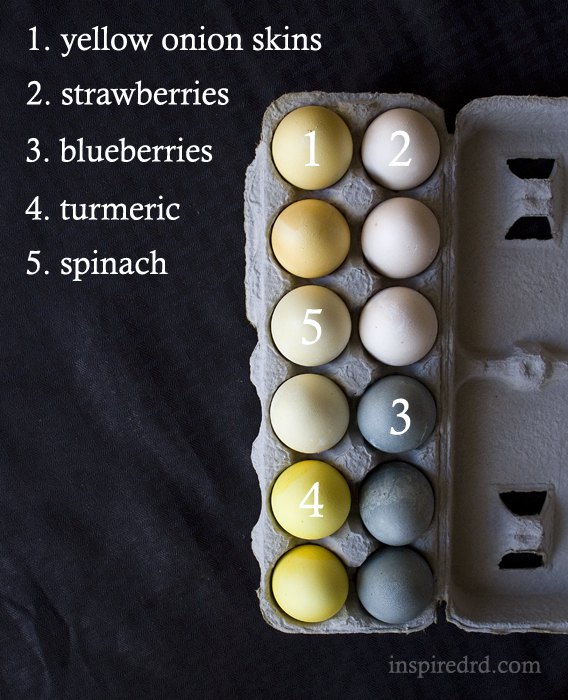
How to dye Easter eggs naturally:
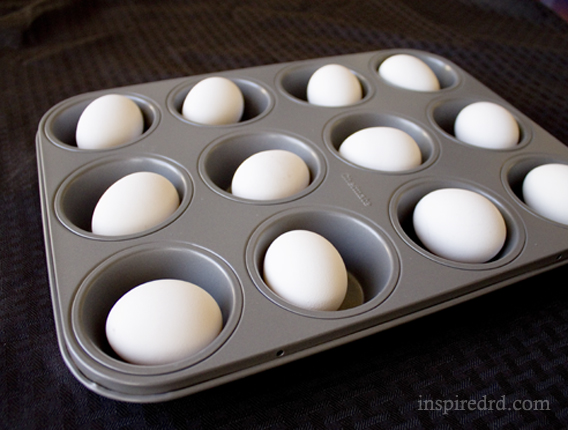
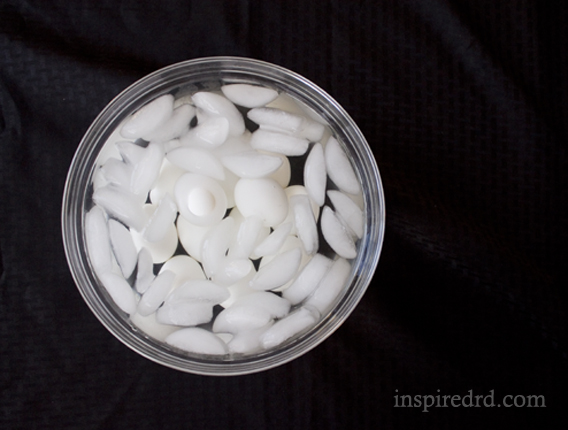
1. Hard boil one dozen eggs. You can boil them in the traditional fashion or stick them in a muffin tin, bake at 325 for 25 minutes, and plunge into an ice bath. I prefer the oven method because there is less opportunity for me to mess up.
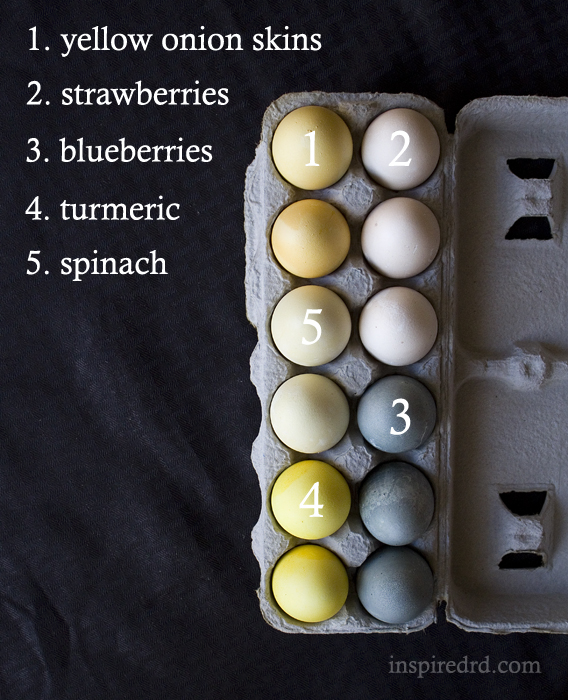
 2. While the eggs are cooking, get your materials ready to make the dyes. We used blueberries (frozen), strawberries (frozen), spinach, yellow onion skins, and turmeric. In a small saucepan, add a few cups of water, a splash of white vinegar and the food (use a separate saucepan for each color). Bring the mixture to a boil, then let simmer for 25-30 minutes. Because it’s all an experiment, use whatever amount of food you think would work best. I used 1/2 cup blueberries, 1 cup strawberries, a handful of spinach, one onion skin, and 1 tsp. turmeric. We only have four burners on the stove, but I was able to have five small pots working at the same time.
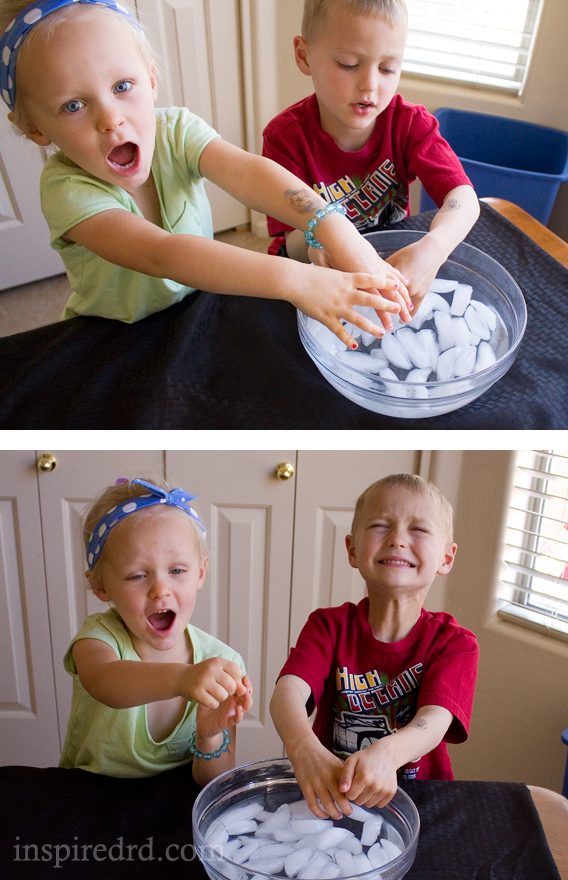
3. While waiting for everything to cook, have a contest to see who can hold their hand in the ice bath for the longest. This step is optional.
4. Use a spoon to transfer the hot eggs into the ice bath. Let the eggs cool for 10 minutes.
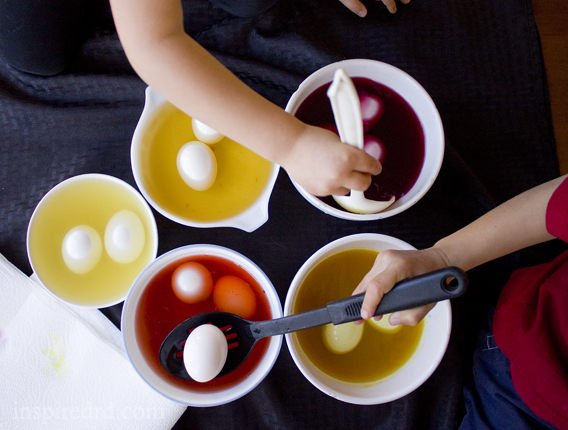
5. Transfer the dyes from saucepans to small bowls. Let them cool, or if you’re impatient like us, add ice. Use a slotted spoon to add the eggs. Let them sit in the dye for at least 20 minutes.
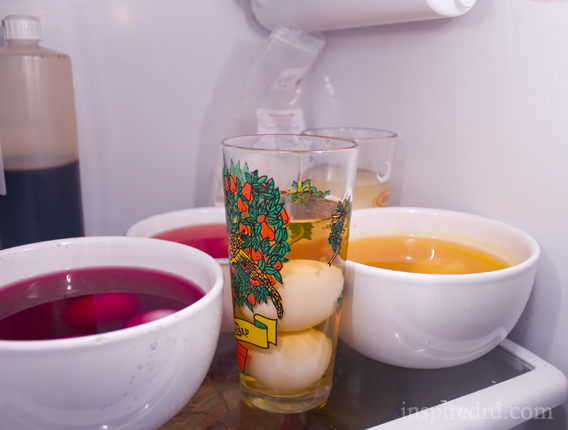
If the eggs aren’t colored enough for your liking, transfer the bowls to the fridge to allow for a longer soaking time. We ended up transferring two of the colors to drinking glasses so the eggs would be completely submerged. Add extra water to the bowls if you need to so the eggs aren’t sticking up out of the dye.
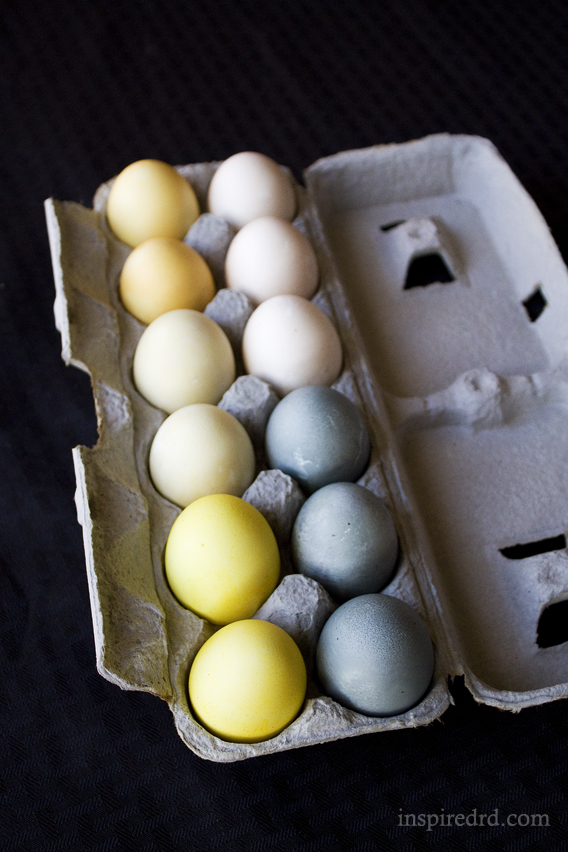
Once you are satisfied with the colors, pull the eggs out and let them dry. Have fun picking out your favorite colors!
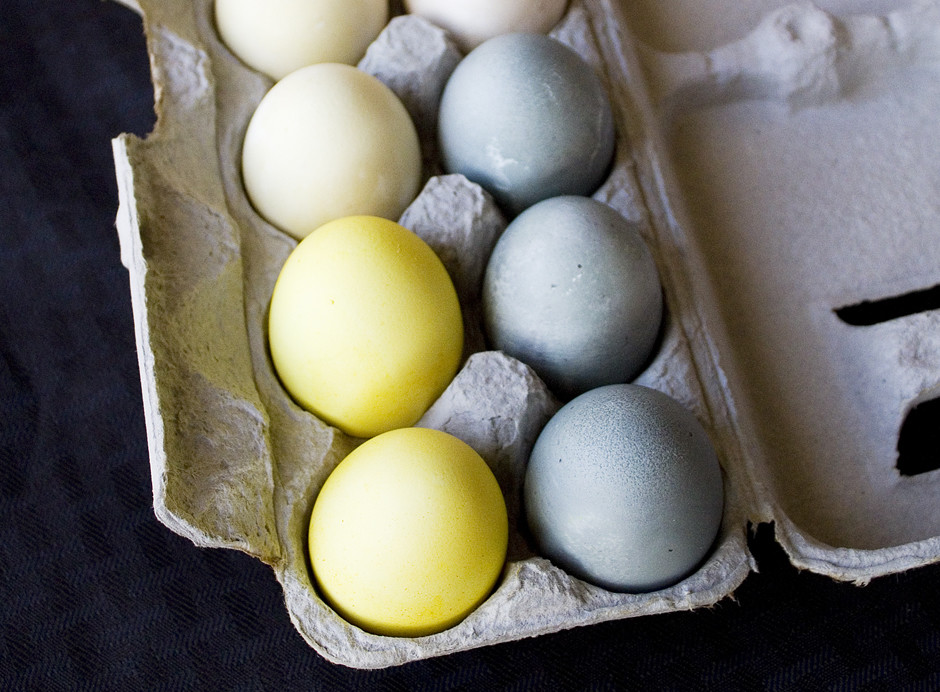
Our favorites this time were the eggs colored with blueberries and turmeric. Both were beautiful! We were surprised by the strawberries. They gave us such a pleasant pink color last time, but were very pale this go around.
Have you ever tried dying Easter eggs naturally? What works the best for you? What tips can you share?

Beets made a nice shade of pink to red.
Really? We have tried beets before and the color turned gray.
I had no idea you can hard boil eggs in the oven! Sounds much easier for a girl who easily messes them up using the traditional boiling method. Thanks for the great tip!
No problem!
[…] + How To Naturally Dye Easter Eggs […]
[…] this! How To Naturally Dye Easter Eggs via Inspired […]
Love! I’m trying this at Easter, thanks 🙂
Yay! Have fun!
[…] them first and dye them for that added fun. Or fill them up with money! • Speaking of dyeing eggs Inspired RD shared a wonderful blog post on how to dye eggs naturally using real food! I am loving […]
These are the cutest pictures! Happy Easter to you and your family!
This is so fun! Such a cool idea. Thanks for sharing!
This is so fun! Such a cool idea. Thanks for sharing!
These eggs are so beautiful!
This is such a cute idea! Thank you, I’m going to give it a try.
What a great idea! And I love the pictures of the kids. Looks like they had a lot of fun!
This comes at a perfect time. I am going to do this with my grandkids. I am also going to try beets. Although we need to be careful not to stain our hands and clothes!